This post contains affiliate links. As an Amazon Associate, I earn from qualifying purchases at no extra cost to you.
If I could only teach one exercise for the rest of my coaching career, it would be the deadlift — no contest. No other movement builds raw strength through the posterior chain, improves posture, and transfers directly to real-world function quite like this one. Knowing how to deadlift properly is one of the most valuable physical skills you can develop. But here’s the catch: the deadlift is also one of the most frequently butchered exercises in any gym. Poor deadlift form doesn’t just limit your progress — it puts serious stress on your lumbar spine, knees, and hips in ways that can sideline you for months. This guide walks you through every detail of setup, execution, and common mistakes so you can pull heavy and pull safely for years to come.
Deadlift Setup: Getting Into Position
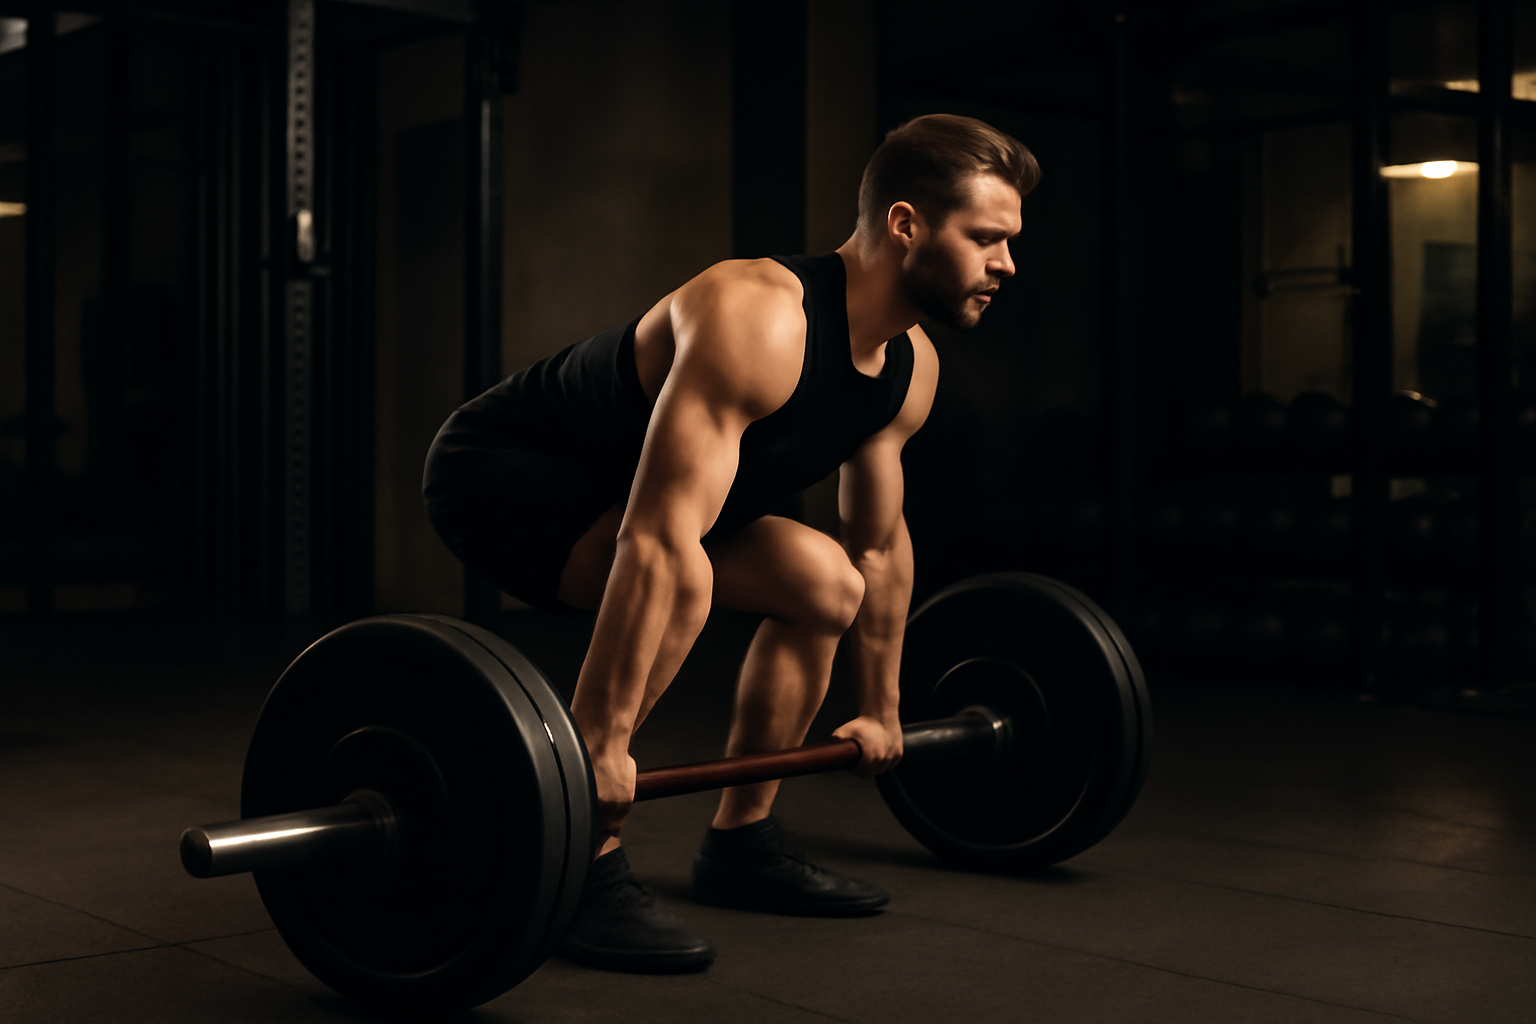
The setup is where most lifters lose the rep before it even begins. Get this right and the lift almost takes care of itself.
Foot Position
Stand with your feet roughly hip-width apart — that’s narrower than most people think. Your mid-foot should be directly under the bar, which means the bar is sitting about an inch from your shins when you look down. Do not walk up and press your shins into the bar before you’ve hinged. That error forces the bar forward before the lift even starts.
Grip
Reach down and grip the bar just outside your knees. A double overhand grip is my default recommendation for anyone under 80–85% of their max — it builds balanced grip strength. For heavier sets, a mixed grip (one hand over, one under) adds security. Hook grip is another option for advanced lifters willing to tolerate some thumb discomfort.
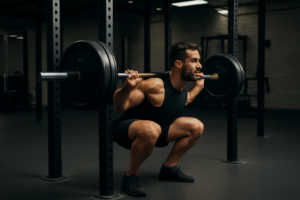
Hip Hinge — Not a Squat
This is the single most misunderstood element of deadlift form. To get into position, push your hips back — don’t sit down. Your hips should be higher than your knees, and your shoulders slightly in front of the bar. If your hips drop too low, you’ve turned the movement into a squat, which changes the mechanics entirely and shifts the bar away from your center of mass.
Brace and Engage
Before you pull, take a deep diaphragmatic breath and brace your core as if you’re about to take a punch. Engage your lats by thinking “protect your armpits” or “bend the bar around your legs.” This lat engagement is critical — it keeps the bar tight to your body and prevents rounding. Your spine should be neutral, not excessively arched or rounded.
One thing that makes an enormous difference in your setup is your footwear. Thick, cushioned running shoes create an unstable base and actually increase the distance the bar has to travel. I recommend training in flat, minimal shoes whenever possible. The MANUEKLEAR Deadlift Shoes are specifically designed for exactly this purpose. They feature a barefoot-style, zero-drop sole that puts you directly in contact with the floor �� improving your proprioception, stability, and force transfer through the lift. Most of my in-person clients have made the switch after struggling with balance in their old runners, and the difference in their setup position is immediately noticeable. The forest green colorway also happens to look sharp, which is a bonus.
If you prefer a slip-on option that’s just as effective, the relxfeet Men’s Minimalist Barefoot Shoes are another solid pick I keep recommending. They have a wide toe box that lets your foot spread naturally under load — important for maintaining a strong, stable base — along with a zero-drop sole and lightweight construction. This is what I keep in my gym bag on travel days when I’m training in unfamiliar gyms. They pack flat, they’re versatile enough for warming up and conditioning work, and they perform exactly as a lifting shoe should during heavy pulls.
How to Deadlift: Step-by-Step Execution
Now that you’re set up, here’s how to deadlift through the full range of motion with control and intention.
The Pull
Think “push the floor away” rather than “pull the bar up.” This mental cue activates your leg drive and keeps your hips from shooting up too fast. Before the bar leaves the ground, pull the slack out of the bar first — you’ll hear a subtle clunk as the plates settle and tension builds in the bar. Then initiate the drive. Rushing this step and jerking the bar creates a shock load on your spine that serves no one.
Bar Path and Hip/Shoulder Rise
The bar should stay in contact with your legs the entire way up. This is non-negotiable. The moment the bar drifts away from your body, your leverage gets worse and your lower back takes on disproportionate load. Your hips and shoulders should rise at exactly the same rate — the angle of your torso stays constant until the bar passes the knee. If your hips rise faster than your shoulders, you’ve essentially turned the deadlift into a stiff-leg RDL mid-rep, which is a recipe for strain.
Lockout and Lowering
At the top, stand tall and squeeze your glutes hard. Do not hyperextend your lower back in an attempt to “finish” the rep — that’s unnecessary spinal loading that adds zero strength benefit. Simply stand upright, hips through, glutes contracted. To lower the bar, reverse the movement: push your hips back first, keeping the bar close to your legs, then bend your knees once the bar passes them.
For lifters working at heavier loads, a quality lifting belt is a legitimate performance and safety tool — not a crutch. A belt gives your core something to brace against, increasing intra-abdominal pressure and protecting your spine at near-maximal efforts. The Dark Iron Fitness Genuine Leather Weightlifting Belt is one I’ve used personally and recommended to dozens of clients. It’s four inches wide, constructed from genuine leather with reinforced stitching, and uses a double prong buckle that locks in securely without the fuss of a lever. The leather stiffness gives you excellent feedback — you can really feel yourself bracing into the belt — which actually teaches better bracing mechanics over time.
Common Deadlift Form Mistakes
- Rounding the lower back: This is the number-one injury risk in the deadlift. It typically happens because the weight is too heavy, the lats aren’t engaged, or the lifter doesn’t brace before pulling. Fix it by lightening the load and focusing on a neutral spine before the bar moves.
- Squatting the deadlift: When the hips drop too low, the bar is forced forward and your quads take over a movement that should be hip-dominant. Keep your hips higher than your knees in the setup — this is a hinge, not a squat.
- Bar drifting forward: If the bar is swinging away from your body during the pull, you’re losing mechanical advantage. Engage your lats harder and think about keeping the bar “dragging” up your shins and thighs.
- Jerking the bar off the floor: Slack must be removed from the bar before you drive. Explosively yanking at the bar creates a sudden, uneven load spike that stresses your spine and often breaks your position immediately.
- Hyperextending at the top: Leaning back aggressively at lockout is not a sign of strength — it’s a sign of poor motor control. Stand tall, not backward. Glutes contracted, ribs down.
If you’re training at higher intensities where a belt becomes appropriate, another excellent option worth considering is the RDX Weight Lifting Belt. What sets this one apart is the choice between 4-inch and 6-inch padded options in genuine cowhide leather, plus 10 adjustable holes that give you a very precise fit — something that matters more than most people realize when you’re bracing hard under a heavy bar. I’ve found the extra padding particularly useful for clients who are newer to belt training and find the hard edge of a standard powerlifting belt uncomfortable during the learning curve. It’s a well-built belt at a fair price point for serious recreational lifters.
Conventional vs Sumo Deadlift: Which Is Right for You?
The conventional deadlift — feet hip-width, hands outside the knees — is the standard starting point and works well for most body types. The sumo deadlift uses a much wider stance with the hands gripping inside the legs, which shortens the range of motion and shifts more demand onto the hips and adductors while reducing lower back stress.
Lifters with longer torsos and shorter femurs often do well with conventional. Lifters with longer femurs or limited hip mobility frequently find sumo more comfortable and biomechanically advantageous. Neither is universally superior — both build serious strength when performed with proper deadlift form. My recommendation: learn conventional first to build foundational hip hinge mechanics, then experiment with sumo to see which feels stronger and more natural for your structure. Many competitive powerlifters have found their best numbers only after trying both over several training cycles.
How Much Should You Deadlift? (Strength Standards)
Knowing where you stand relative to general strength standards is useful for setting realistic goals and programming appropriately. These are rough guidelines based on bodyweight multipliers for the conventional deadlift:
- Beginner (less than 1 year of training): 1x bodyweight
- Novice (1–2 years): 1.5x bodyweight
- Intermediate (2–4 years): 2x bodyweight
- Advanced (4+ years): 2.5x bodyweight
- Elite: 3x+ bodyweight
These numbers should inform your training, not define your worth as a lifter. Body proportions, training history, age, and genetics all play a role. What matters most is consistent progress over time with sound mechanics. A 1.5x bodyweight deadlift with perfect form is worth far more than a 2x bodyweight pull that destroys your lower back every session.
Final Thoughts
Understanding how to deadlift with precision is a skill that pays dividends across every area of your training and daily life. The setup, the brace, the hip hinge, the bar path — every detail compounds into a lift that’s either building you up or gradually breaking you down. Invest the time to nail proper deadlift form before chasing numbers, choose your equipment wisely, and approach progressive overload with patience. The deadlift rewards those who respect it. Start light, move well, and build from there — your future self will thank you.
Written by Lucy Bamboo
Lucy Bamboo is a NASM-certified personal trainer (CPT) and corrective exercise specialist (CES) with over 12 years of experience coaching clients through injury recovery, strength building, and sustainable fitness. She holds a B.S. in Kinesiology and has worked in both clinical rehabilitation and private training settings. Lucy writes at Push Pull Ya'll to make evidence-based exercise guidance accessible to everyone — whether you're rehabbing a shoulder injury at home or building your first real training program.
