Most people who build a home gym spend thousands on equipment they never use because they never established what they actually needed in the first place. Without that clarity upfront, you end up with clutter instead of capability. This guide walks you through the entire process — from measuring your space to selecting gear that matches your real training goals to programming for actual results. You’ll know exactly what to buy, when to buy it, and why, regardless of whether your budget is $150 or $1,500.
I’ve been coaching people for over a decade. In that time, I’ve helped a lot of people ditch their gym memberships and build home setups that produce real, measurable results. My own garage gym has gone through four complete overhauls. I’ve made every mistake: wrong flooring, wrong equipment order, wrong budget allocation. What I’m sharing here isn’t theory — it’s the distilled version of all of that experience.
What follows is a complete walkthrough covering space planning, which equipment pieces matter most versus which are optional extras, three concrete budget frameworks, flooring choices and why they’re critical, and how to structure your training for measurable progress. If you have limited funds, there’s a smart path. If you have substantial resources, there’s a smarter path that avoids waste. Come back to this whenever you’re making a purchasing decision.
Step One: Assess Your Space Before You Buy a Single Thing
The sequence most people reverse is this: they acquire equipment first and discover later that it doesn’t actually fit anywhere. I learned this the difficult way when an Olympic barbell proved too long for my basement without hitting the wall studs. Before you commit any money, spend 20 minutes with a tape measure understanding what you’re actually working with.
The smallest functional home training footprint sits around 48 square feet — picture a 6-by-8-foot rectangle where you can place a mat, a dumbbell set, and a point to anchor resistance bands. If your vision includes a barbell, a safety-equipped rack, and room to move freely around your setup, you’re realistically looking at 100 square feet minimum, ideally 10 by 10. Vertical space is equally important. Pressing weight overhead demands no less than 8 feet of clearance, though 9 to 10 feet is preferable to avoid constant concern about contact.
Popular training locations include garage spaces, unfinished basements, spare rooms, and covered outdoor areas. Each presents distinct advantages and drawbacks. Garages offer generous space but fluctuate wildly in temperature depending on season and climate. Basements typically have height constraints and moisture problems. Spare rooms can accommodate lighter equipment but rarely fit full racks. Understanding your specific space’s constraints before finalizing an equipment list prevents costly dead ends.
Sketch Your Setup on Paper First
Put pen to paper and outline it. This straightforward step prevents the overwhelming majority of purchase mistakes people make. Document exact dimensions, mark doorways and window locations, and flag any permanent obstacles like columns or low-hanging elements. Then position each major item on your sketch, ensuring at least 3 feet of unobstructed space in all directions where you’ll be moving. That single exercise eliminates half the regrettable equipment acquisitions new lifters typically make.
Flooring Matters More Than Most People Realize
Flooring ranks as the unglamorous part of building a training space — it’s the part people consistently overlook. That’s where the mistake lies. Good flooring accomplishes four critical things: it shields your foundation from damage, it dampens noise significantly, it absorbs impact on your joints, and it prevents loaded equipment from sliding across surfaces. Beyond the practical benefits, proper flooring transforms a room into a legitimate training environment, which affects your motivation in ways equipment alone cannot.
For the vast majority of home setups, interlocking rubber stall mats represent the ideal balance. These come in 4-by-6-foot dimensions, reach 3/4 inches thick, and typically cost between $40 and $50 each. One mat handles the footprint of dumbbell and bodyweight work. A full coverage area of 12 by 8 feet requires approximately four mats — an investment between $160 and $200 for reliable, long-lasting protection. The set I installed in my own training space years ago remains functional and visually acceptable today.
Foam tiles interlocking together cost significantly less, around $1 to $2 per square foot, but deteriorate rapidly under substantial loads and develop trip hazards as they compress and shift. Consider foam appropriate only for mobility work or lighter training environments. Anything beyond 50 pounds of working weight warrants rubber investment.
When You Plan to Lift Heavy or Drop Plates
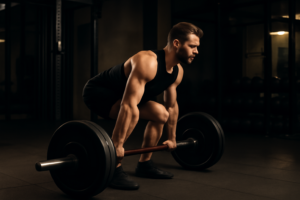
Stall mats alone don’t adequately protect your space if you’re deadlifting serious poundage or allowing bumper plates to strike the floor repeatedly. You’ll need a platform — essentially a sandwich of two 3/4-inch plywood sheets topped with rubber matting. Building one yourself runs approximately $80 to $120 in material costs. That platform absorbs impact energy that would otherwise transfer to your structure and your equipment.
Essential Equipment vs. Everything Else: Draw the Line
This distinction separates smart gym builders from wasteful ones. Most online equipment lists treat every item as equally necessary, leading people to overcomplicate and overspend. I want to establish a clear boundary between what you genuinely need and what remains optional until later.
The Non-Negotiable Starting Pieces
- Adjustable dumbbells or a complete dumbbell collection: This single item delivers the widest range of training options. Adjustable versions conserve space but demand higher upfront spending.
- Loop bands and handle-style bands: A complete band set costs $20 to $40 and adds movement diversity, assists with mobility work, and replicates many cable-machine patterns.
- A pull-up bar secured to wall or ceiling: Wall-mounted or ceiling-mounted options are substantially safer and more stable than door-hanging varieties. Budget $30 to $80 for a dependable option.
- A mat for floor training: For bodyweight drills, stretching, and core work, a 6mm-to-10mm thickness provides adequate cushioning.
- An incline-adjustable bench: Enables pressing, rowing, and incline positions across dozens of variations. Quality adjustable benches run $150 to $250.
Smart Additions When Your Budget Expands
- A barbell paired with weight plates: Necessary for serious strength progression. Delivers major versatility for squatting, pulling from the floor, pressing, and horizontal pulling.
- A power rack or half-rack setup: Essential for safe handling of heavy barbells. Heavy squats and bench pressing without safety bars or a training partner represents real danger.
- One or two kettlebells in moderate sizes: A 16kg or 24kg kettlebell per hand expands conditioning capacity and movement patterns for most lifters.
- A jump rope: Affordable, compact, and remarkably effective for conditioning work. A durable weighted version costs under $30.
- A single cardio apparatus: Stationary bike, rowing machine, or treadmill — only consider adding one if dedicated cardio drives your goals and your footprint allows it.
Here’s the practical reality: the essentials list alone supports a thorough, results-producing program. I’ve watched people drop significant pounds and develop real strength using nothing except adjustable dumbbells, resistance bands, and a pull-up bar. Additional equipment doesn’t automatically translate to superior outcomes.
Three Budget-Based Home Gym Setups: Pick Your Level
Budget constraints frustrate many people before they even begin. The encouraging part is straightforward: functional training capability doesn’t require a fortune. I’ll outline three realistic scenarios using actual market pricing I’ve observed recently.
Tier One: The Starter Configuration — Under $300
This entry-level setup delivers complete full-body strength and conditioning with minimal space needs. Everything fits within a 6-by-8-foot training zone.
- Resistance band collection (loops and handles): $25 to $40
- A pair of fixed dumbbells or basic adjustable set: $80 to $120
- Wall-mounted pull-up bar: $50 to $80
- Floor mat: $25 to $40
- Two rubber stall mats: $80 to $100
Estimated total: $260 to $380. Hundreds of movement options become possible with this configuration. Bodyweight progressions, band variations, dumbbell patterns, and pull-up regressions and progressions keep you engaged and improving for 12 to 18 months minimum. Most people should start here.
Tier Two: The Intermediate Configuration — $500 to $1,000
This middle tier introduces an adjustable bench, a premium adjustable dumbbell selection, and adequate flooring for a proper training area. Allocate roughly 8 by 10 feet.
- Premium adjustable dumbbells (5 to 50 lb range): $200 to $350
- Incline-adjustable bench: $150 to $250
- Bands, pull-up bar, and mat: $100 to $150
- Four rubber stall mats: $160 to $200
Estimated total: $610 to $950. This configuration covers virtually every classical lifting movement while allowing genuine progressive weight increases. For people pursuing fat loss, muscle development, or general fitness — essentially the majority of recreational lifters — this tier is genuinely sufficient forever.
Tier Three: The Advanced Configuration — $1,500 to $3,000+
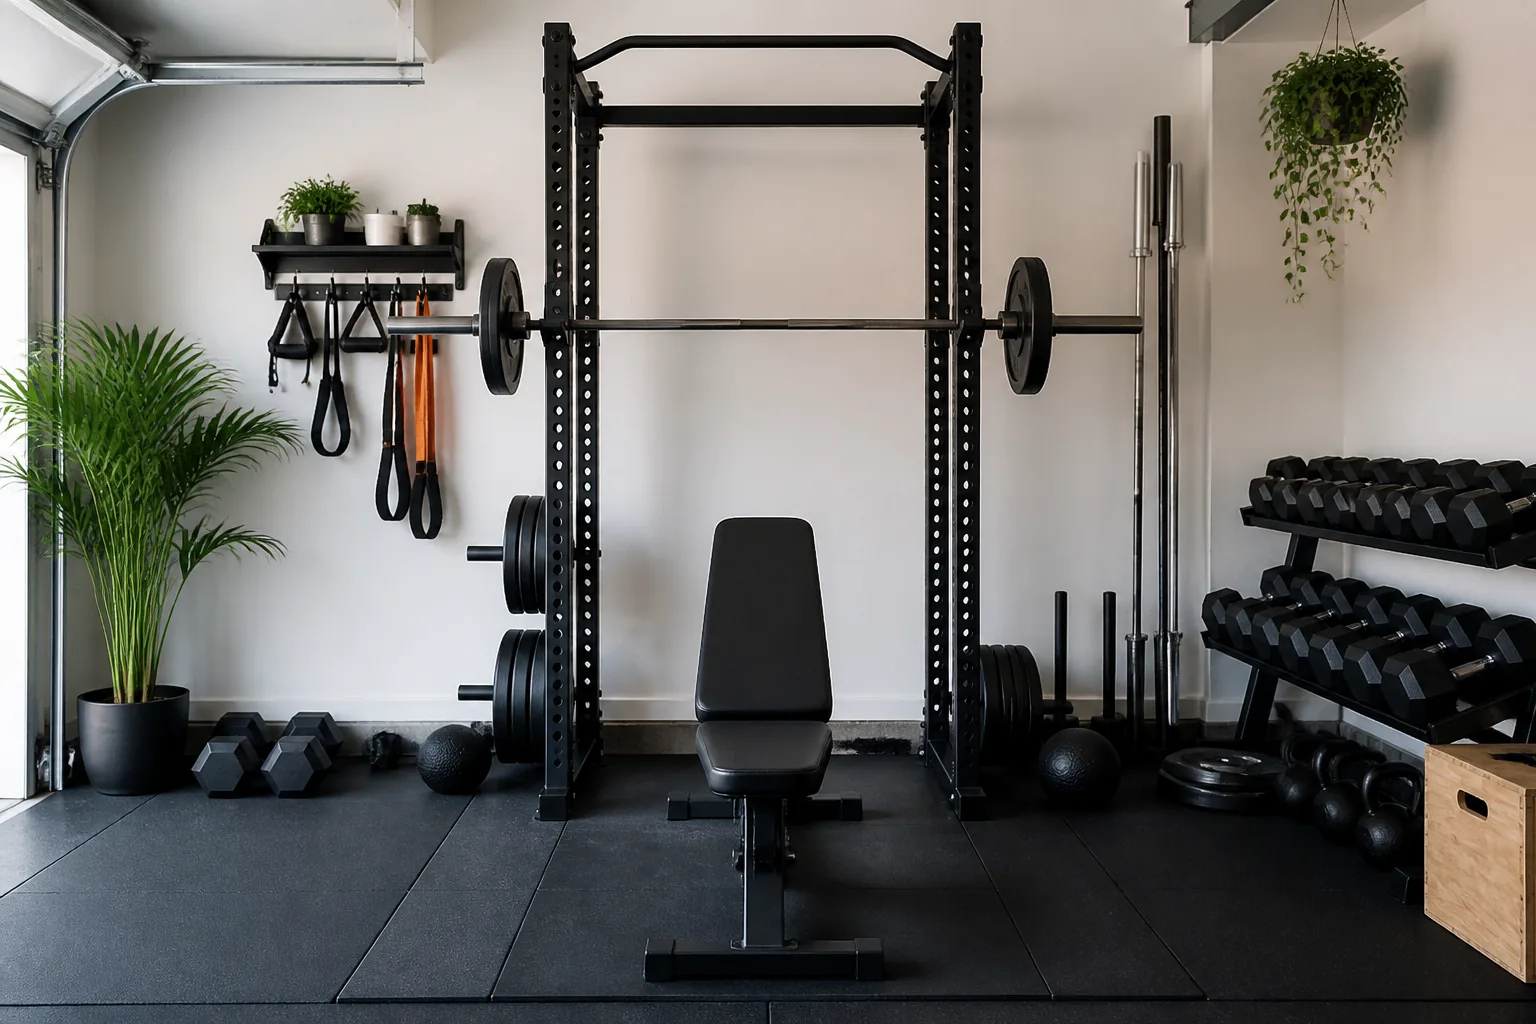
This high-end tier includes a barbell system, a safety-equipped rack, colored bumper plates, and optionally a cardio machine. Minimum footprint is 10 by 10, with 9-foot ceiling height strongly recommended. This setup rivals what commercial gyms provide for serious barbell training.
- Power rack or half-rack: $400 to $800
- Olympic barbell: $150 to $300
- Bumper plate collection (300 lbs): $400 to $600
- Adjustable bench: $200 to $300
- Adjustable dumbbells: $200 to $350
- Full coverage flooring with deadlift platform: $250 to $400
Estimated total: $1,600 to $2,750. Your training space becomes functionally superior to the average commercial membership for barbell and hypertrophy work. The initial outlay is substantial. Yet when calculated against standard monthly dues of roughly $50, your investment breaks even in three to five years — then costs you nothing afterward.
Safety First: Rules That Are Not Negotiable
I need to emphasize something here because this section carries more weight than any equipment recommendation. Home training spaces lack the standard safety infrastructure of commercial facilities. There’s no staff member supervising. No one responds to emergencies. That means you carry responsibility for your own protection.
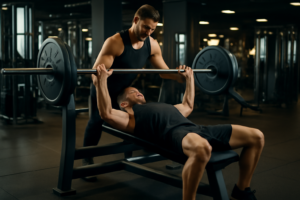
Never attempt heavy barbell lifts without proper safety equipment installed and configured. A power rack with correctly positioned safety bars is absolutely mandatory for heavy squats and bench pressing. Attempting a solo personal record on the bench without safeties installed is genuinely hazardous. I’ve witnessed the fallout. The risk isn’t worth taking.
Secure anything capable of tipping or moving. Tall structures including racks, shelving units, and machines must be wall-bolted to studs or secured to the floor per manufacturer specs. A rack weighing hundreds of pounds falling represents catastrophic danger. Spending 30 minutes securing it properly eliminates that risk entirely.
Temperature Control and Air Movement
Garage and basement spaces frequently climb above safe temperature limits. Training in conditions exceeding 90°F substantially increases heat illness danger. Install a fan as a baseline solution — ceiling-mounted or box-style, directed at your working area. Colder regions benefit from a compact heater for pre-workout activation. A basic unit costs roughly $40. Circulation also mitigates humidity accumulation, which extends the lifespan of rubber matting and cast iron significantly. Metal and rubber both suffer faster deterioration in consistently moist environments.
The Real Driver of Results: Programming Structure Over Equipment
Here’s what most home gym articles completely ignore. Equipment functions as a tool. Your actual training plan functions as the engine. You can own $3,000 in gear and produce nothing with careless, directionless training. Alternatively, $300 in equipment paired with intelligent, structured progression can reshape your physique in three months. The equipment difference is insignificant compared to the programming difference.
Progressive overload forms the bedrock concept here — methodically increasing the difficulty your muscles encounter across time. This happens through adding load, climbing rep counts, refining movement quality, compressing rest periods, or scaling frequency deliberately. Without progression, adaptation plateaus rapidly. Most beginning trainees underestimate how critical this principle becomes to any successful result.
A Framework for Getting Started
Beginners typically benefit from three training days weekly spread across the week. This frequency provides sufficient stimulus to each muscle group while maintaining recovery needs. Within each session, sequence a pressing pattern, a pulling pattern, a lower body pattern, and a core component. That’s your template structure. Everything beyond that is refinement.
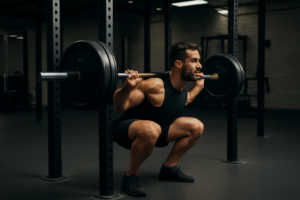
Ground your approach in compound movements hitting multiple muscle groups simultaneously. Squats, deadlifts, variations of pushing, variations of pulling, and shoulder pressing form your backbone. Isolation movements — arm curls, side raises, tricep extensions — enhance and complement the foundation once it’s solid. Never flip that hierarchy.
Document every session. This becomes critical for consistent advancement. A basic written log works fine. Capture which exercise, what weight, how many reps each time you train. This record reveals when to push harder and when to allow recovery. Absence of documentation means absence of direction — and that stalls progress for years for most people.
Frequent Missteps Beginners Make (And How to Sidestep Them)
Misstep 1: Purchasing Everything at Once
This ranks as the most prevalent error. Newcomers buy the entire imagined list in one go, often going into debt or depleting savings. Subsequently they discover barbell training isn’t their preference, or the cardio equipment gathers dust after two weeks. Begin with Tier One. Train exclusively with it for 60 to 90 days. Allow genuine experience to guide your next acquisitions.
Misstep 2: Cutting Corners on Flooring
I covered this already, but it demands emphasis. Someone skips flooring to preserve $150, then spends $400 fixing their hardwood or concrete. Flooring is foundational investment — it protects what sits above it. Allocate flooring dollars before allocating equipment dollars.
Misstep 3: Exercising Without a Structured Plan
Improvised training yields improvised outcomes. Following a coherent program — even a basic one — outperforms random sessions consistently in every research investigation examining this question. Commit to one program. Execute it for at least eight weeks before making changes. Constant program-switching defeats a solid program every single time.
Misstep 4: Skipping Preparation in a Private Setting
Commercial settings create social momentum for warm-up routines — you observe others preparing, so you follow suit. At home, jumping straight from rest into working sets happens easily. That invites injury. Cold musculature lifting heavy loads becomes vulnerable musculature. Invest 5 to 10 minutes every session in dynamic preparation: leg swings, shoulder circles, bodyweight squats, and light band work suffice.
Misstep 5: Overlooking Secondhand Equipment Sources
Used equipment emerges constantly on resale platforms — frequently selling at 30 to 60% below retail. Barbells particularly represent smart used buys since wear accumulates minimally through typical training. Dumbbells, benches, and even racks appear regularly. Before you finalize a new purchase, check local listing platforms and community groups. Shopping used patiently transforms a $500 budget into $900 worth of gear.
Final Perspective: Your Home Setup Is an Investment That Never Expires
Building an effective home training space fundamentally depends on one discipline: purchase based on how you genuinely train, not how you imagine training in an idealized future. Start lean, build thoughtfully, and let actual patterns of use direct where you expand. The optimal setup isn’t the priciest — it’s the one you actually show up to use.
I’ve worked out in garage setups, basement configurations, and compact spare room spaces. Some smelled less than ideal. The environment mattered far less than the consistency I brought, the logical structure I maintained, and the focus I sustained. Equipment acquisition doesn’t provide any of those elements on its own.
Measure your actual space this week. Determine what you can realistically spend. Select Tier One essentials, install flooring properly, and pick a beginner-appropriate structured program. That covers the full formula. In six months, past-gym-membership you will seem puzzling. That’s not speculation — it’s the pattern I’ve witnessed countless times over.
Frequently Asked Questions
How much space do I need for a home gym?
The smallest functional footprint is around 48 square feet—a 6-by-8-foot rectangle for a mat, dumbbells, and resistance bands. If you want a barbell, rack, and room to move freely, aim for 100 square feet minimum, ideally 10 by 10. Pressing overhead requires at least 8 feet of clearance, though 9 to 10 feet is preferable.
What flooring should I use in my home gym?
Interlocking rubber stall mats in 4-by-6-foot dimensions at 3/4 inches thick are ideal for most setups, costing $40 to $50 each. A full 12 by 8 feet area needs about four mats for $160 to $200. Foam tiles cost only $1 to $2 per square foot but deteriorate quickly under substantial loads. Use rubber for anything beyond 50 pounds of working weight.
What equipment do I absolutely need to start?
Essential pieces include adjustable dumbbells or a complete dumbbell collection, resistance bands ($20 to $40), a wall-mounted or ceiling-mounted pull-up bar ($30 to $80), a floor mat (6mm to 10mm thickness), and an incline-adjustable bench ($150 to $250). These alone support a thorough, results-producing program.
Can I build a functional home gym for under $300?
Yes. A Tier One setup includes a resistance band collection ($25 to $40), basic adjustable dumbbells ($80 to $120), a wall-mounted pull-up bar ($50 to $80), a floor mat ($25 to $40), and two rubber stall mats ($80 to $100), totaling $260 to $380 and fitting in a 6-by-8-foot zone.
What’s more important: expensive equipment or a training program?
Programming matters far more than equipment cost. You can own $3,000 in gear and produce nothing without a structured plan, while $300 in equipment paired with intelligent progression can reshape your physique in three months. Progressive overload—methodically increasing difficulty through load, reps, or frequency—drives actual results.
How often should beginners train in a home gym?
Beginners typically benefit from three training days weekly spread across the week, providing sufficient stimulus to each muscle group while maintaining recovery needs. Each session should include a pressing pattern, a pulling pattern, a lower body pattern, and a core component.
Should I buy used equipment for my home gym?
Yes. Used equipment frequently sells at 30 to 60% below retail on resale platforms. Barbells particularly represent smart used buys since wear accumulates minimally through typical training. Check local listing platforms before finalizing new purchases to stretch your budget significantly.
Do I need a platform for deadlifting at home?
If you’re deadlifting serious poundage or dropping bumper plates repeatedly, stall mats alone don’t adequately protect your space. A platform made from two 3/4-inch plywood sheets topped with rubber matting costs approximately $80 to $120 in materials and absorbs impact energy that would otherwise damage your structure.
About This Article
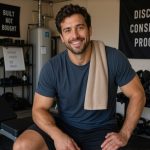
Written by Jordan Ellis. Jordan Ellis isn't a certified personal trainer — just someone who's been genuinely obsessed with training for over eight years and turned it into building smarter home gyms. He focuses on home fitness: effective training spaces, equipment that earns its price, and programs that work in a spare room or basement, not just a commercial gym. More about this site.
Scope and limits. Jordan is not a certified personal trainer, and nothing here is medical advice. Check with a physician before starting a new program, and prioritize form over load on every lift described.
Verify this against a primary source
Specifics change, and your situation may differ from the one described here. These are the authorities worth checking directly:
- Physical Activity Guidelines for Americans (HHS) — the federal physical activity guidelines
- American College of Sports Medicine — exercise prescription and position stands
- NSCA — strength and conditioning research