When I was cutting weight for wrestling in high school, I thought I understood fitness — I was training hard, sweating through two-a-days, and convinced that more equipment meant better results. Spoiler: I knew absolutely nothing, and I wasted years chasing gear instead of chasing smart decisions. That same mistake is exactly what I see people make when they start building a home gym: they spend first and think second. The truth is, a smart home gym setup doesn’t require thousands of dollars — it just requires spending in the right order. Whether you’ve got $50 or $5,000, I’m going to walk you through exactly what to buy first, what to save for later, and what you can skip entirely based on your actual goals.
Why Most People Build Their Home Gym in the Wrong Order
Here’s the mistake I see over and over: someone gets excited, buys a treadmill, a set of resistance bands, a pull-up bar, and a yoga mat all at once — and ends up with a cluttered space that doesn’t actually support progressive overload (that’s the practice of gradually increasing stress on your muscles so they continue to grow and get stronger). They spend $800 and still can’t do a proper strength training session.
The secret to a great home gym is prioritization. You build from the foundation up. You protect your floor, then add the movement patterns that give you the most return, then layer in the accessories. Let me break it down by budget tier so you know exactly where your money goes.
The Home Gym Setup Budget Guide: Every Spending Level Covered
Tier 1: $50–$150 — Start Smart, Not Flashy
At this level, your goal is to build habits and protect your space without overcommitting financially. The very first thing I recommend to anyone starting a home gym isn’t a dumbbell — it’s flooring. Bare concrete or hardwood floors get slippery, hard on your joints, and they take a beating from dropped weights. Foam interlocking tiles are cheap, easy to install, and make a massive difference in both safety and comfort.
The Floor Protection That Stopped My Equipment From Destroying My Concrete
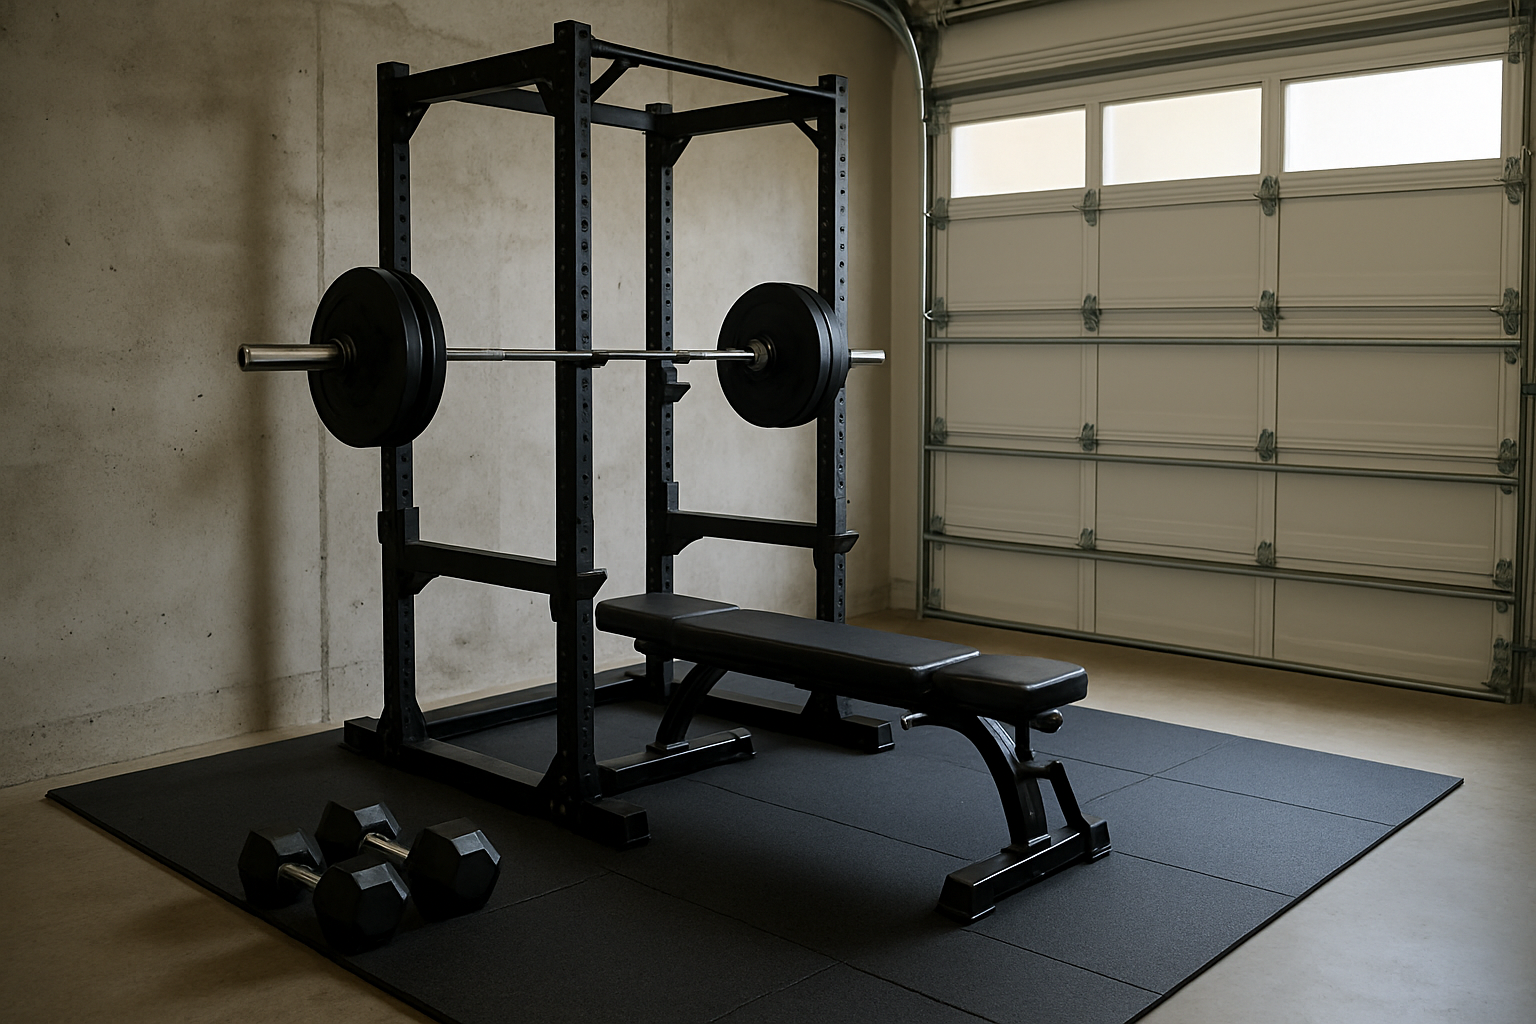
When you’re dropping dumbbells or sliding a squat rack across bare concrete, you’re not just risking joint impact — you’re destroying your floor and creating a safety hazard that gets worse with every session. A proper mat layer underneath heavy equipment areas is non-negotiable if you want a home gym that lasts more than a season.
What works
- The rubber top grips equipment and prevents creep — your rack or weight tree stays put during loaded movements instead of inching forward with every rep.
- At 0.56 inches thick, it absorbs impact from dropped plates without flattening out after a few months of heavy use like thinner foam alternatives.
- Installation is genuinely quick; the 48 sq ft footprint covers a squat/deadlift zone without eating up your whole garage, and you don’t need adhesive or tools.
What doesn’t
- It’s not a full-room solution — 48 sq ft sounds bigger than it feels in practice, so you’ll need to be intentional about placement or buy multiple sets to cover your whole space.
- The rubber top can feel slightly tacky underfoot if you’re barefoot, and sweat pooling on it takes longer to dry than open concrete.
I almost ditched these after the first week because the footprint felt smaller than I expected, but once I positioned my rack on top and actually loaded it, I realized the difference in noise reduction and floor protection instantly justified the cost. AIRHOP 0.56in Thick Rubber Top Exercise Mats (48 Sq Ft)
This post contains affiliate links. As an Amazon Associate, I earn from qualifying purchases at no extra cost to you.

Written by Jordan Ellis
Jordan Ellis is a personal trainer with over eight years of experience helping everyday people get stronger and move better. He focuses on home fitness: effective training spaces, equipment that earns its price, and programs that work in a spare room or basement, not just a commercial gym.