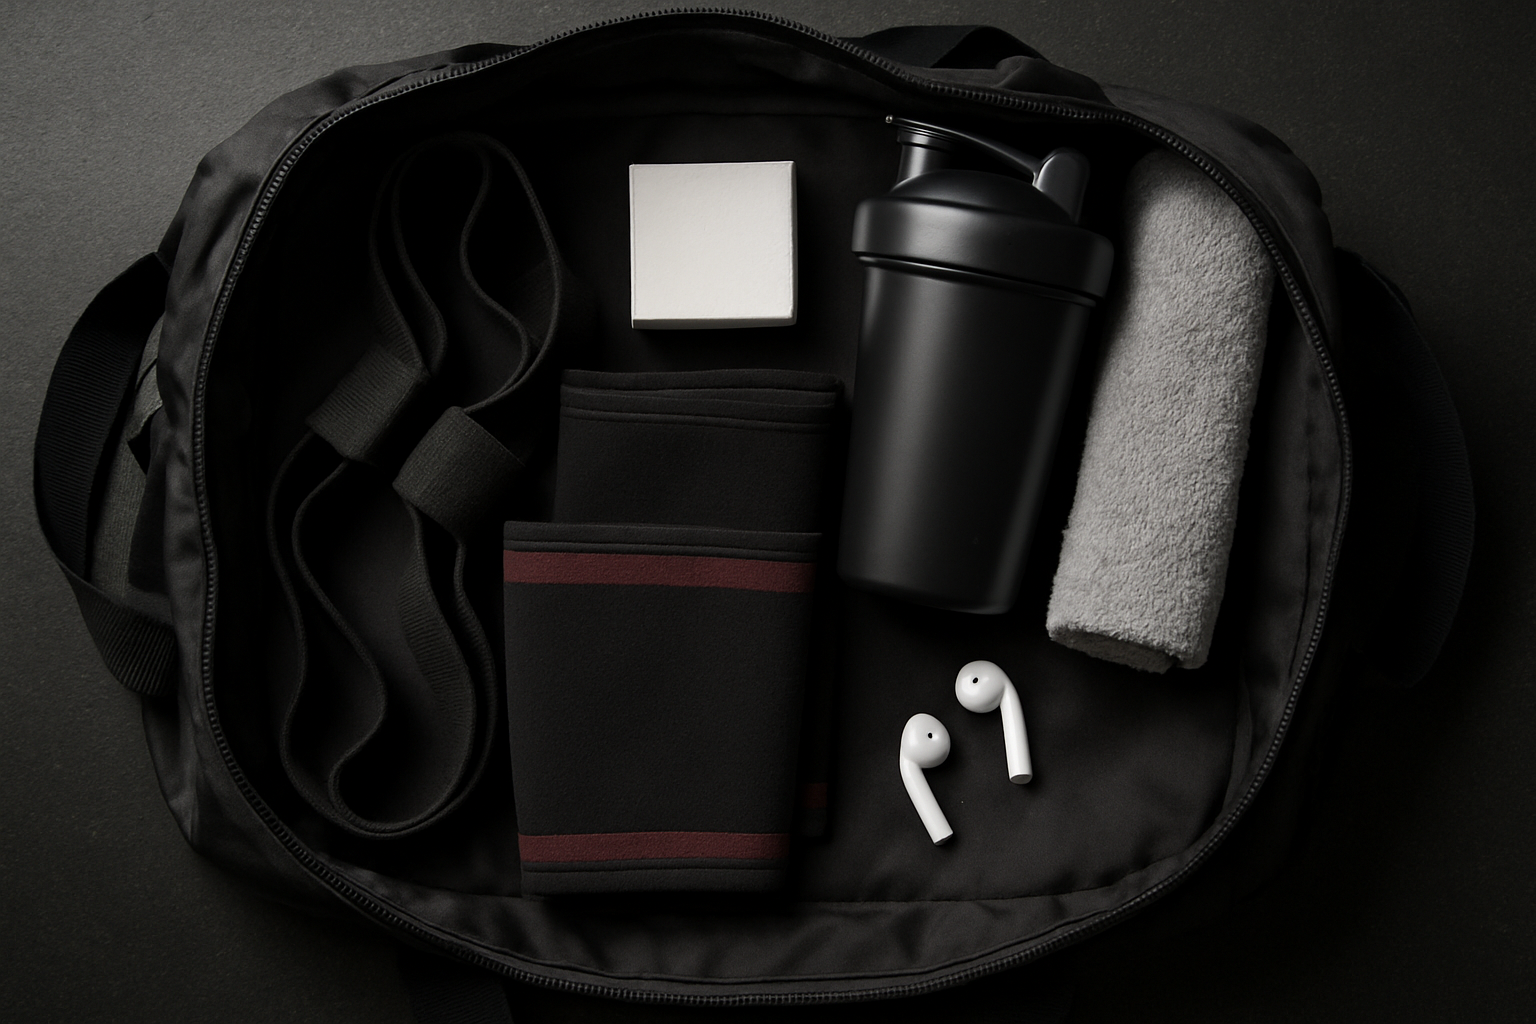
Gym Bag Essentials: What Every Serious Lifter Should Carry to Every Session
I trained like I had a scholarship on the line during my junior year of high school — six days a week, no off-season, no rest weeks — and I burned out completely before senior year, not because I lacked discipline, but because I had no idea how to set myself up for sustainable, productive … Read more