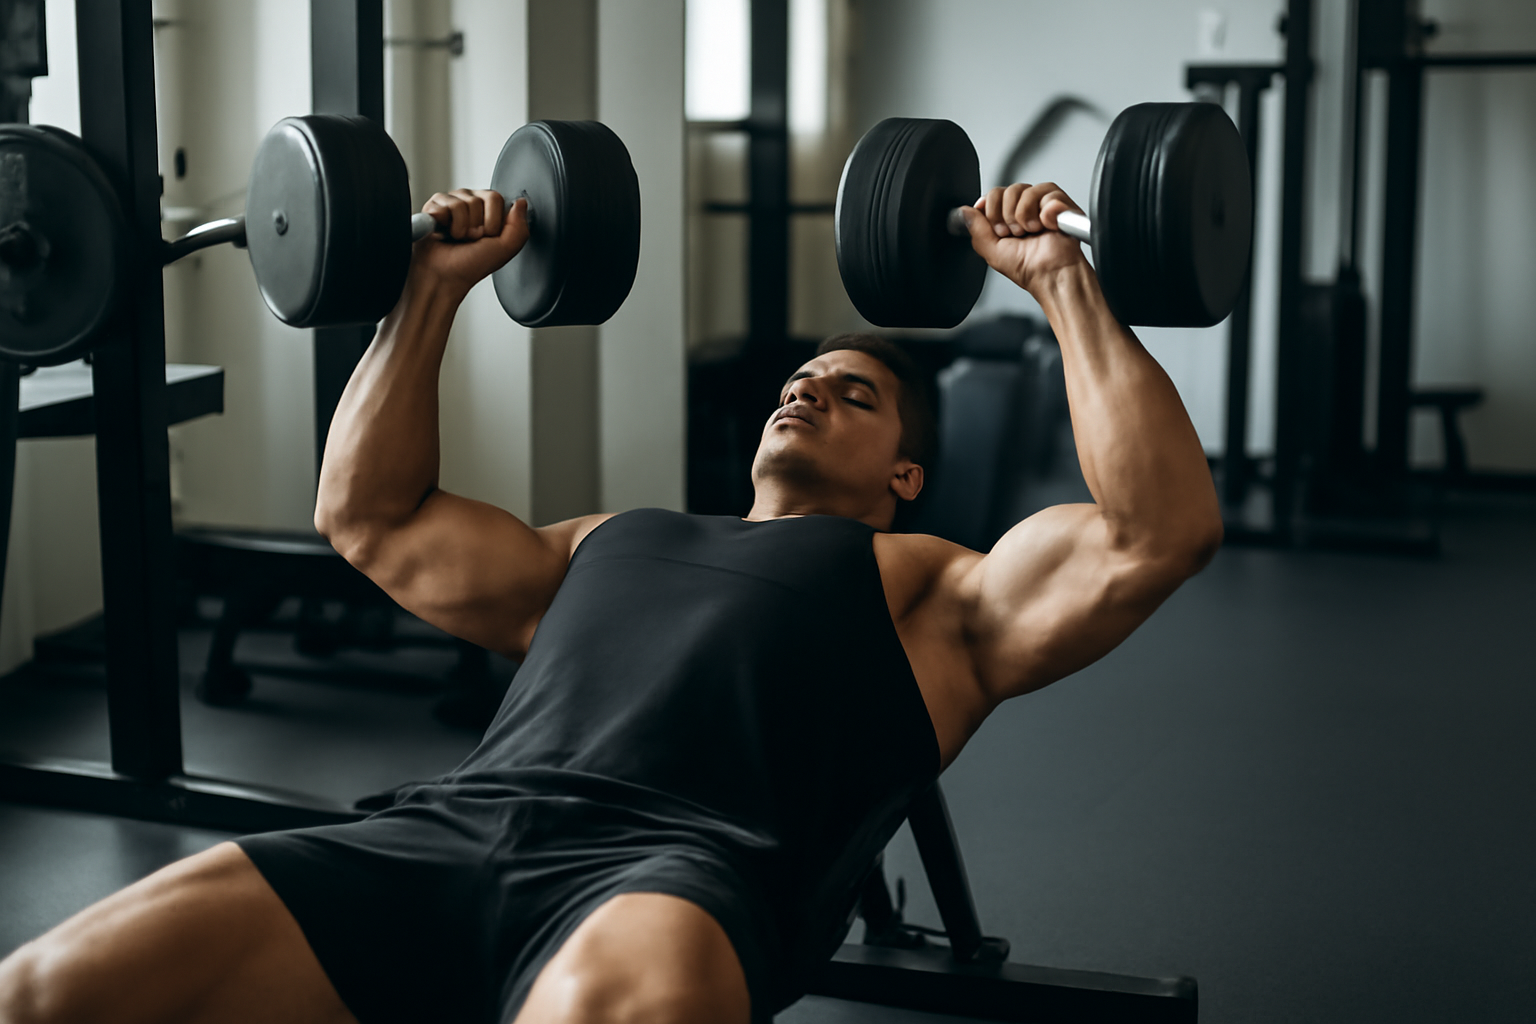
How to Bench Press With Proper Form: From Setup to Lockout
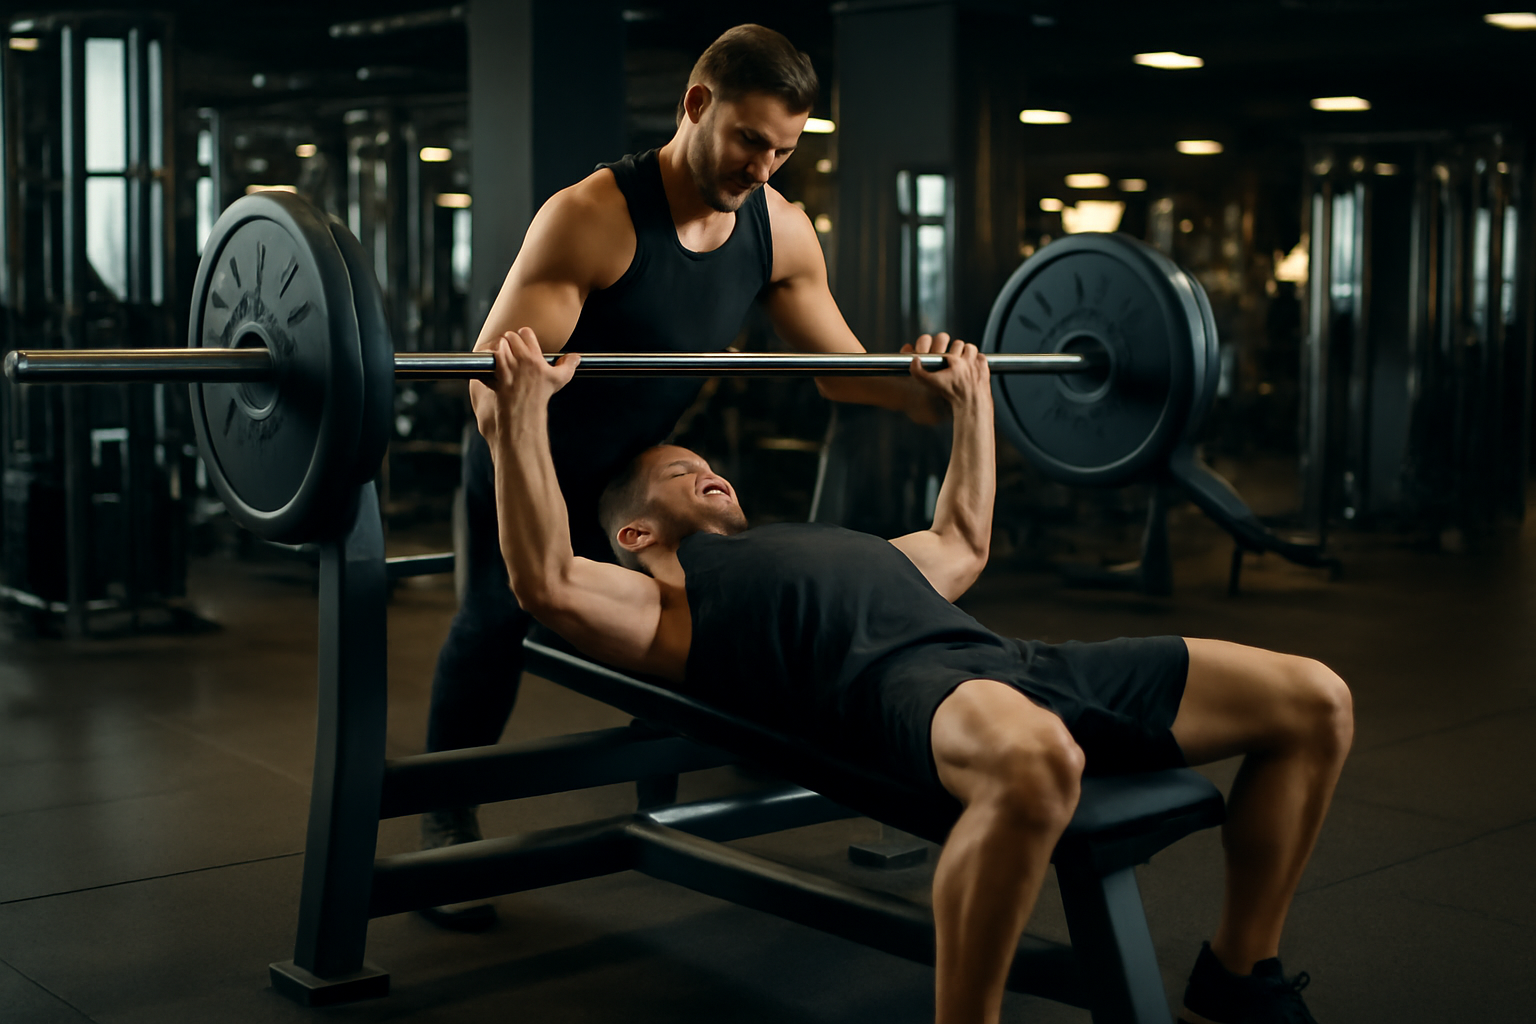
The bench press is the single most popular exercise in the gym — and also one of the most commonly butchered. Walk into any commercial gym on a Monday and you’ll see dozens of people loading up the bar, flaring…