Lower Back Pain From Squats: Is Your Form Wrong or Is Your Back Weak?
By Jordan Ellis | Workout Answers
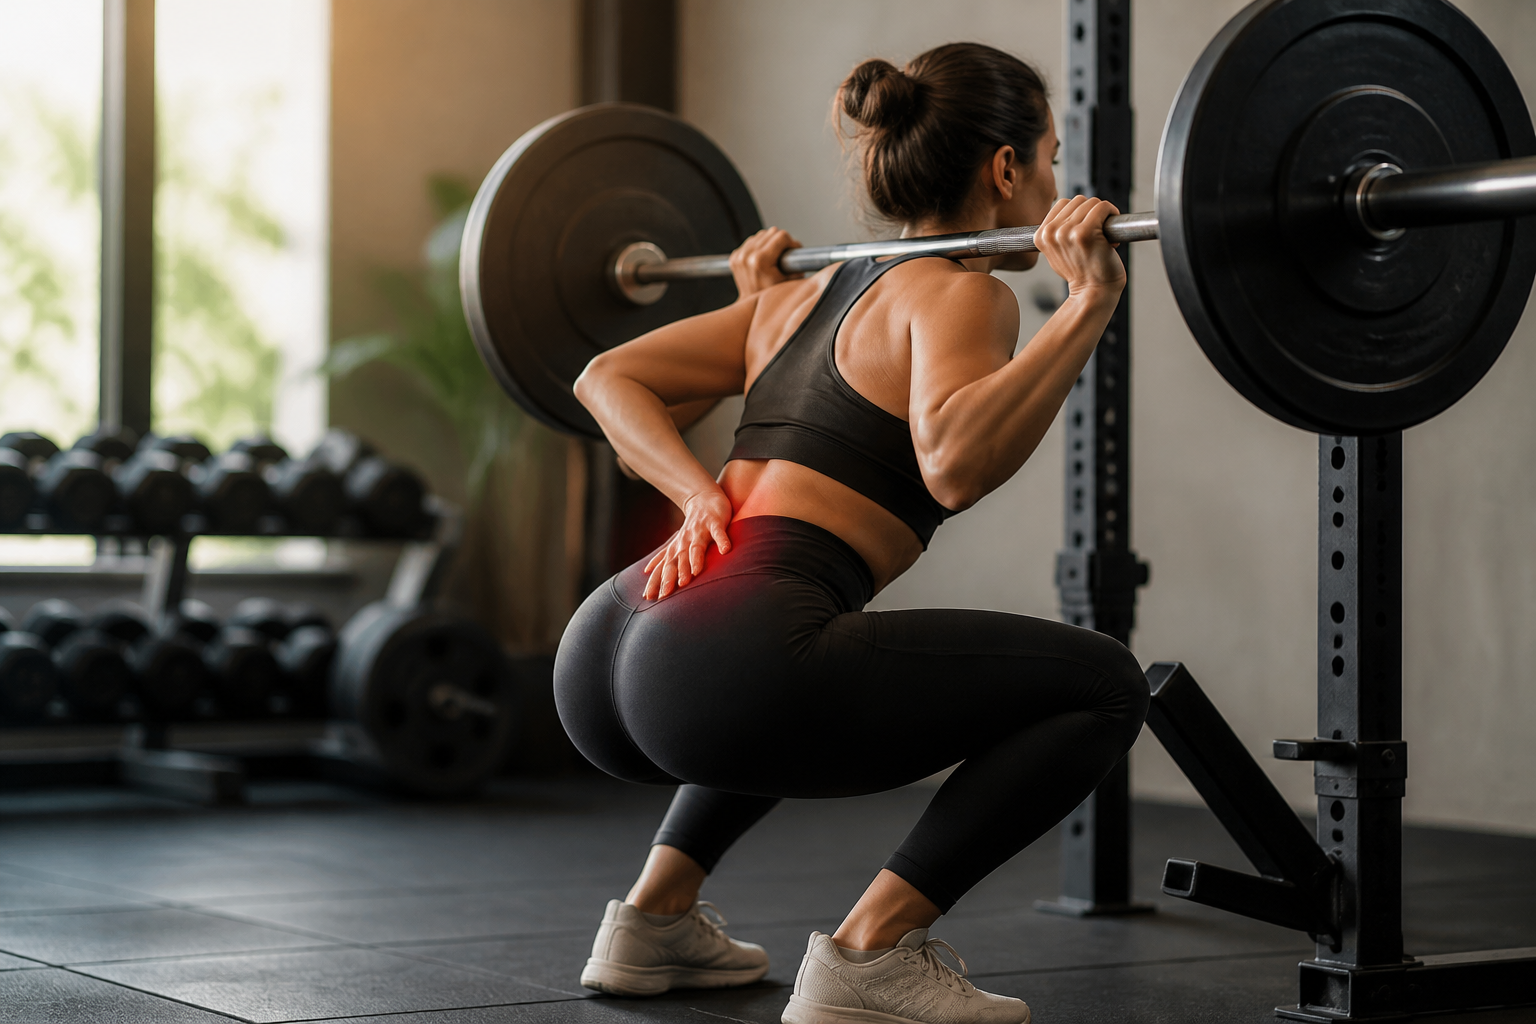
You just finished a solid squat session. Everything felt controlled, your depth was good, your knees tracked well. But 45 minutes later, your lower back is tight. By evening, it’s aching.
Or maybe it’s different: you feel a sharp pinch in your lower back right at the bottom of your squat, even with lighter weight. You reduce the load, think about “neutral spine,” and hope it goes away. It doesn’t.
If this describes you, you’re not alone. Lower back pain during or after squats is one of the most common complaints I hear from lifters—and it’s also one of the most misdiagnosed.
The standard advice? “Maintain neutral spine. Reduce weight. Do core work.” This is generic, unhelpful, and worse: it doesn’t actually diagnose why your back hurts. Lower back pain from squats has distinct causes, each with a different solution. You can’t fix what you don’t understand.
This post walks you through a diagnostic framework to identify which of the three most common causes is affecting your squat, then gives you the specific fixes to build a pain-free squat again.
The Diagnostic Approach: Film Your Squat and Ask Three Questions
Before you do anything else, film yourself squatting from the side with a weight that produces mild discomfort or unease (not sharp pain—we’re gathering data, not aggravating an injury). Use your phone. Position it at knee height, perpendicular to your body. Do 3–5 reps at a controlled tempo.
Now watch it back and answer these three questions:
(1) Does your lower back round at the bottom of the squat?
Look at your pelvis and lower spine. In a neutral squat, the curve of your lower back should remain relatively constant from start to bottom. If your pelvis tucks under and your lower back rounds—like the top of your butt is tucking inward—you have butt wink (posterior pelvic tilt at depth).
(2) Does your torso pitch forward excessively?
Your torso should angle forward slightly in a squat, but the angle should be consistent. If your chest collapses dramatically and your back takes on the work—if it starts to look like a good-morning movement—your spinal erectors are likely fatiguing and losing position under load.
(3) Does your back feel fine during the set but ache 30 minutes to 2 hours later?
This delayed onset pain, without acute discomfort during the lift, often points to a bracing issue. You’re not creating sufficient intra-abdominal pressure, so fatigue accumulates and manifests as aching in the hours after training.
Once you’ve answered these questions, you’ll know which of the three causes below is your issue—and which fix to prioritize.
Cause 1: Butt Wink (Posterior Pelvic Tilt at Depth)
Butt wink is the most visually obvious problem: your pelvis tucks under at the bottom of the squat, and your lower back flexes (rounds). This creates a shearing force on the discs and stretches the posterior spinal ligaments, which causes pain or sharp discomfort at depth.
The culprit is almost never tight hamstrings—this is one of the most persistent myths in strength training. Instead, butt wink happens because one of two things is true:
Limited ankle dorsiflexion. Your ankles can’t flex enough to allow your tibia (shin bone) to travel forward, so to achieve depth, your pelvis has to rotate backward to compensate. Fix this first.
Hip anatomy. Your hip socket geometry—the angle and depth of your acetabulum—may simply mean you can’t achieve a deep squat with a neutral pelvis. This is individual. Some people can comfortably bottom-out at 120 degrees of hip flexion; others hit their anatomical limit at 100 degrees. This is not a weakness. It’s anatomy.
Fixes for Butt Wink:
Elevate your heels. Use squat shoes (they have a 0.75–1-inch heel) or place small plates under your heels. This artificially increases ankle dorsiflexion, allowing your tibia to travel forward without pelvic compensation. This is not “cheating.” This is intelligent leverage. If heel elevation eliminates the rounding, butt wink was your issue.
Limit your depth. If heel elevation helps but doesn’t fully solve it, simply squat to the depth where your pelvis stays neutral—where your lower back maintains its curve. This might be parallel instead of below-parallel. This is your squat depth, and it’s the only depth that matters. Forget what you think you “should” do.
Work on ankle mobility. This takes weeks, but it works. The knee-to-wall stretch is the gold standard: stand facing a wall, place your foot a few inches away, and drive your knee toward the wall while keeping your heel flat on the ground. If your knee touches the wall, your dorsiflexion is good. If it doesn’t, you have room to improve. Do this 2–3 times per day, 30 seconds per side.
Widen your stance. A wider stance can reduce the demand for ankle dorsiflexion and often allows for a more neutral pelvis at depth. Try a stance that’s wider than shoulder-width and turn your toes out 15–25 degrees. Many people find this more forgiving.
Research on squat biomechanics—including Schoenfeld’s 2010 analysis—shows that squat depth and foot position are highly individual. There is no “correct” depth for everyone. If your butt winks at parallel, then parallel is your max depth until mobility improves. This is not failure. This is self-awareness.
Cause 2: Weak Spinal Erectors (The Good-Morning Squat)
Watch your squat video again. Does your chest collapse forward dramatically? Does the movement start to resemble a good morning (where the bar stays relatively stationary and your hips rise first)? If yes, your spinal erectors—the muscles running along your spine—are not strong enough to maintain an upright torso under load.
This is a common problem because many lifters think of the squat as a “leg exercise” and neglect back strength entirely. The reality: your back muscles are stabilizers and prime movers in the squat. They need to be trained, not just “protected.”
When your spinal erectors fatigue, your torso pitches forward, load shifts to your lower back ligaments and discs, and pain follows. The fix is not lighter weight or less squatting. The fix is a stronger back.
Fixes for Weak Spinal Erectors:
Switch to front squats temporarily. A front squat forces you into an upright torso position because the bar is on your shoulders, not your back. This removes the opportunity for your chest to collapse. Train front squats for 4–6 weeks, and you’ll develop positional strength in the upright position. Then return to back squats with better control.
Add pause squats. Pause for 2–3 seconds at the bottom of your squat. This removes the stretch-reflex energy that usually helps you out of the hole and forces your muscles—including your back—to generate tension against the load while stationary. Pause squats build positional strength fast.
Do direct back work. Your back is a muscle. Train it like one. Add:
- Back extensions (also called hyperextensions): 3 sets of 8–12 reps, 2 times per week. These directly target the spinal erectors.
- Reverse hyperextensions: If your gym has them, these are excellent for building back strength with less spinal compression than traditional hyperextensions.
- Romanian deadlifts: 3 sets of 6–8 reps. These build posterior chain strength and teach you to maintain a neutral spine under load.
Many lifters see dramatic improvements in squat position once they add consistent back work. Within 3–4 weeks, you’ll notice your chest staying more upright and your lower back feeling more stable.
Cause 3: Core Bracing Failure
This one is subtle. Your form looks decent. You don’t see obvious butt wink or forward pitch. But your lower back aches 30 minutes to 2 hours after squatting. This delayed-onset ache—without acute pain during the set—usually means you’re not bracing your core effectively.
Your core is not your abs. Your core is your entire torso: abs, obliques, diaphragm, pelvic floor, and multifidus. When you brace correctly, you create intra-abdominal pressure (IAP). This pressure acts like a hydraulic brace around your spine, offloading stress from the vertebrae and discs onto the fluid within your abdomen. It’s protection built into your body.
If you’re not creating enough IAP, your spinal tissues do all the work. Over the course of a set, they fatigue, and pain follows hours later.
Fixes for Core Bracing Failure:
Learn the Valsalva maneuver properly. Before each rep, take a big breath into your belly, not your chest. Your belly should expand like a balloon. Then brace hard—imagine you’re about to be punched in the stomach and you’re tensing to absorb it. Hold this brace through the entire rep. Exhale only after you’ve passed the sticking point and you’re moving upward easily. Many lifters use the cue: “Big belly, hard brace, hold through the rep.”
Use a lifting belt for heavy sets. This is not cheating. A belt gives your core muscles something to push against, amplifying the bracing effect. Research shows that belts do not weaken the core—they enhance it by providing feedback and increasing the pressure your muscles can generate. Use a belt for sets at 80%+ of your 1RM or when you’re doing high-volume work (8+ reps).
Practice bracing with lighter loads. Before you ever load a heavy squat, spend a week or two practicing the breathing and bracing pattern with just the bar or 50% of your normal weight. This builds the neural pattern. Your body needs to learn when and how to brace before it can do it under heavy load.
If you address bracing and the delayed ache disappears, you’ve solved your problem. Often, this is the quickest fix of the three.
When Back Pain Isn’t a Squat Problem
Before you assume lower back pain is a training issue, rule out red flags that point to something more serious:
- Unilateral pain (one-sided) or pain that radiates down your leg
- Numbness or tingling in your legs or feet
- Back pain outside of training—pain that’s present during daily activities, sitting, or at rest
- Pain that worsens despite weeks of form correction
If you have any of these, see a healthcare professional—a physical therapist or sports medicine doctor. Squats don’t cause disc problems, but poor bracing with heavy loads can exacerbate existing ones. You need to know what you’re dealing with before you continue heavy loading.
For the pain that stays isolated to your squat and improves with technique and training changes, the three causes above will address it.
The Regression Pathway: Use Squat Variations Strategically
If you’re working through one of these issues and need to keep training while you fix it, use this progression ranked by spinal demand (least to most):
1. Goblet squat — Lowest spinal demand. The weight is in front of you, and the upright torso is forced. Use this while you build ankle mobility or back strength.
2. Front squat — The bar is on your shoulders. Upright torso is forced. Great for building positional strength.
3. High-bar back squat — The bar is higher on your traps. More upright than low-bar, but less than front squat.
4. Low-bar back squat — Highest spinal demand. More forward lean, more load on the back.
If your back is bothering you, start lower on this list and work your way up as you fix the underlying issue. This isn’t regression in the negative sense—it’s strategic variation that keeps you training hard while you build the capacity to squat in a way that’s pain-free.
The Bottom Line: Diagnosis Before Treatment
Most people don’t need to stop squatting. They need to squat differently—or train their back differently to support their squat.
The next time your lower back hurts during or after squats, film yourself and ask those three diagnostic questions. Butt wink? Address ankle mobility and depth. Good-morning squat? Build back strength. Delayed ache? Fix your bracing. Each cause has a solution, and once you know which one is your issue, you can fix it directly.
Squats are not the problem. Understanding what’s wrong—and addressing it with precision—is.
A Tool for the Rebuilding Phase
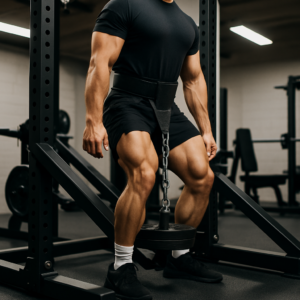
Once you’ve identified which of the three causes is driving your pain and you’re ready to load the squat again, a quality lumbar support belt gives your stabilizers feedback and external support while you’re rebuilding motor control. I have people use this during the first 2-3 weeks of returning to loaded squats—it’s not a crutch, it’s a training tool that lets you train through the adaptation phase without compensating.
Film yourself squatting from the side at a controlled tempo for 3–5 reps. Watch whether your pelvis tucks under and your lower back rounds at the bottom. In a neutral squat, your lower back curve should stay relatively constant from start to bottom. If it rounds, butt wink is your issue. Yes. Elevate your heels using squat shoes (0.75–1-inch heel) or place small plates under your heels. This artificially increases ankle dorsiflexion and allows your tibia to travel forward without pelvic compensation, letting you achieve depth with a neutral pelvis. Add back extensions (3 sets of 8–12 reps, 2 times per week), Romanian deadlifts (3 sets of 6–8 reps), and pause squats (2–3 seconds at the bottom). You can also switch to front squats for 4–6 weeks to develop positional strength before returning to back squats. Take a big breath into your belly so it expands like a balloon, then brace hard as if you’re about to be punched in the stomach. Hold this brace through the entire rep and exhale only after you’ve passed the sticking point and you’re moving upward easily.Frequently Asked Questions
How do I know if my squat pain is from butt wink?
Can I squat with limited ankle dorsiflexion?
What back exercises fix a collapsing chest in squats?
How should I breathe and brace before a heavy squat?
About This Article

Written by Jordan Ellis. Jordan Ellis isn't a certified personal trainer — just someone who's been genuinely obsessed with training for over eight years and turned it into building smarter home gyms. He focuses on home fitness: effective training spaces, equipment that earns its price, and programs that work in a spare room or basement, not just a commercial gym. More about this site.
Scope and limits. Jordan is not a certified personal trainer, and nothing here is medical advice. Check with a physician before starting a new program, and prioritize form over load on every lift described.
Verify this against a primary source
Specifics change, and your situation may differ from the one described here. These are the authorities worth checking directly:
- Physical Activity Guidelines for Americans (HHS) — the federal physical activity guidelines
- American College of Sports Medicine — exercise prescription and position stands
- NSCA — strength and conditioning research