I Tracked My Protein With a Kitchen Scale for 30 Days and It Was Eye-Opening
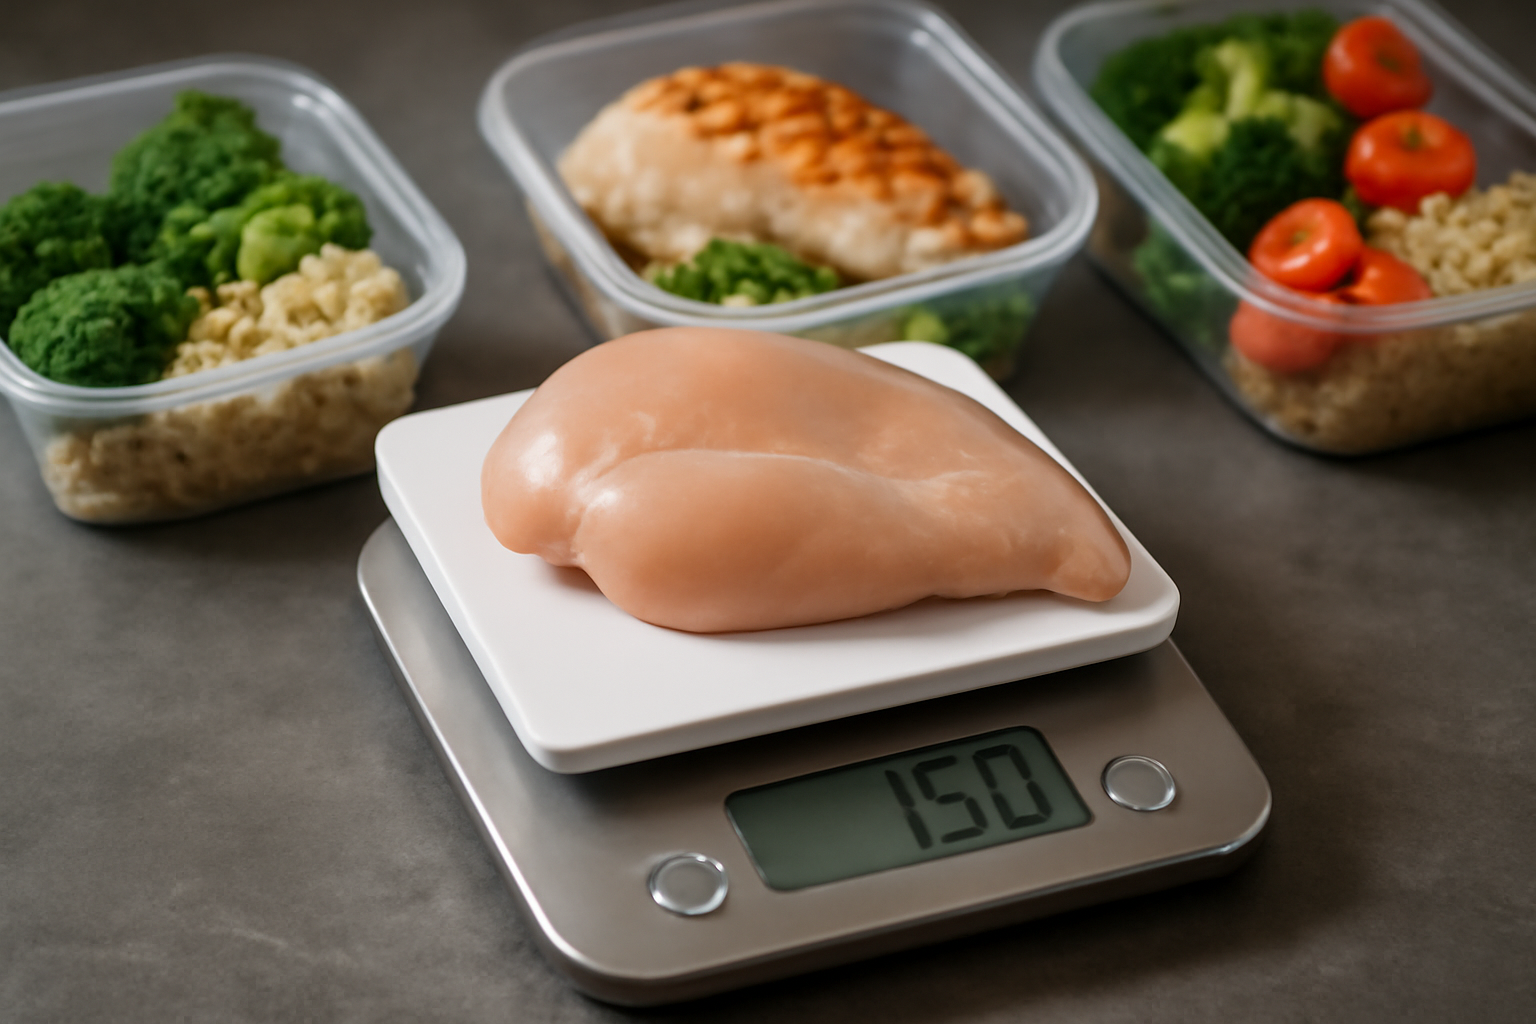
I’ve been coaching clients for over 15 years. In that time, I’ve heard every excuse for stalled progress imaginable. But one pattern kept showing up again and again: people were wildly off on their protein intake. Kitchen scale protein tracking…