How to Deadlift With Proper Form: The Complete Technique Guide
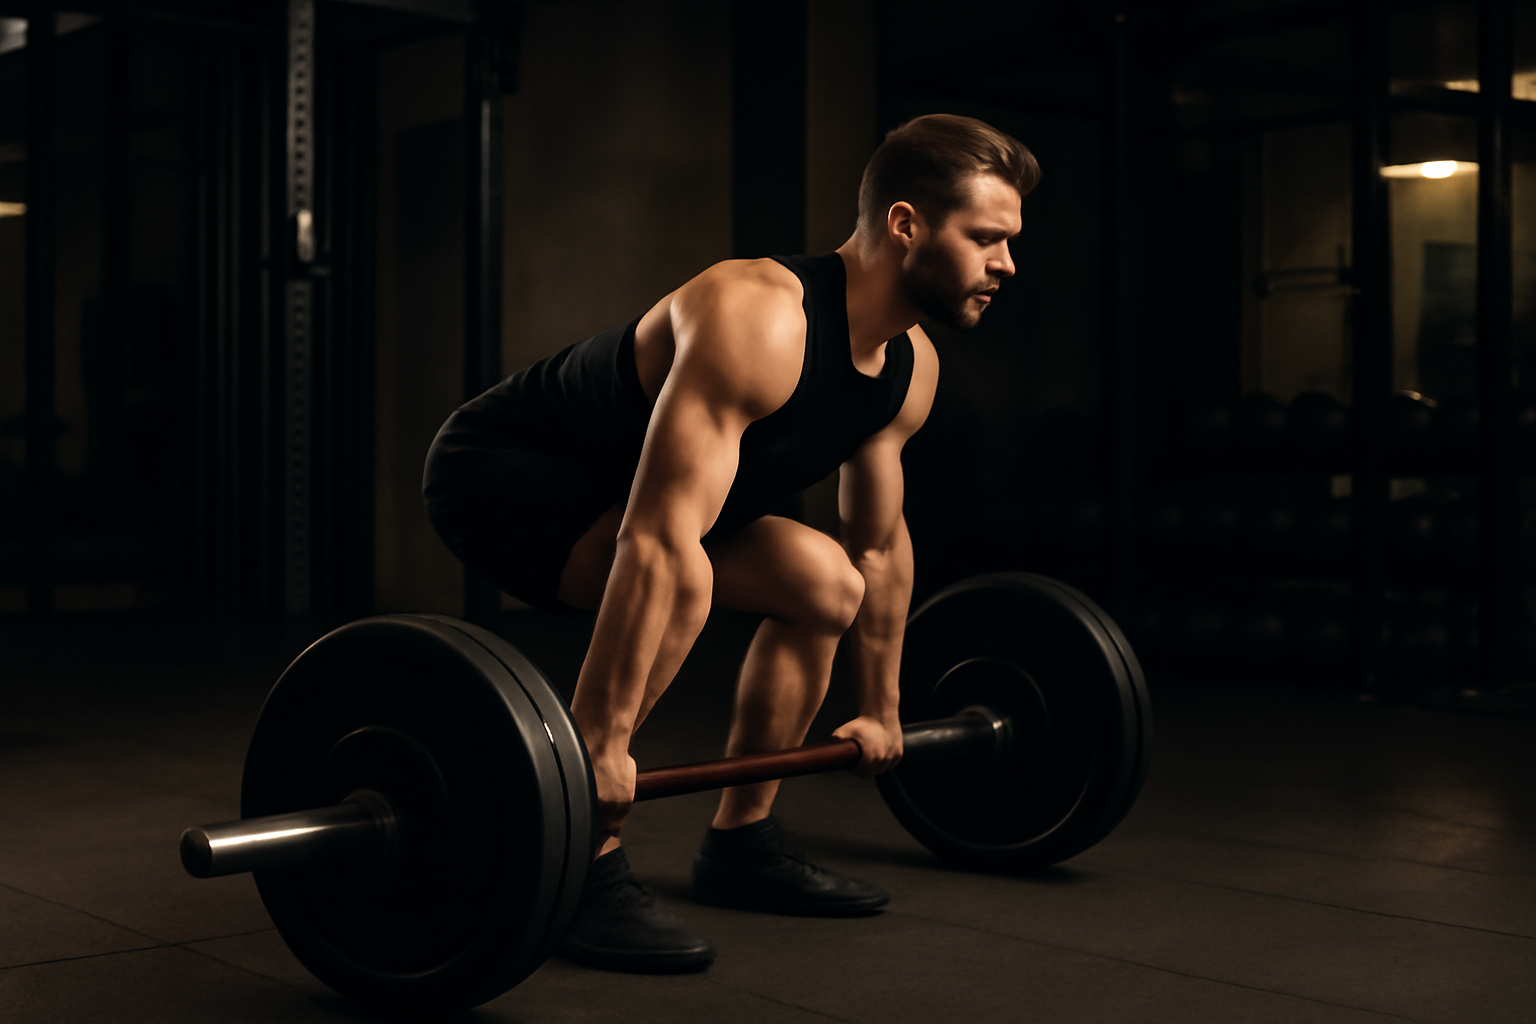
If I could only teach one exercise for the rest of my coaching career, it would be the deadlift — no contest. No other movement builds raw strength through the posterior chain, improves posture, and transfers directly to real-world function…