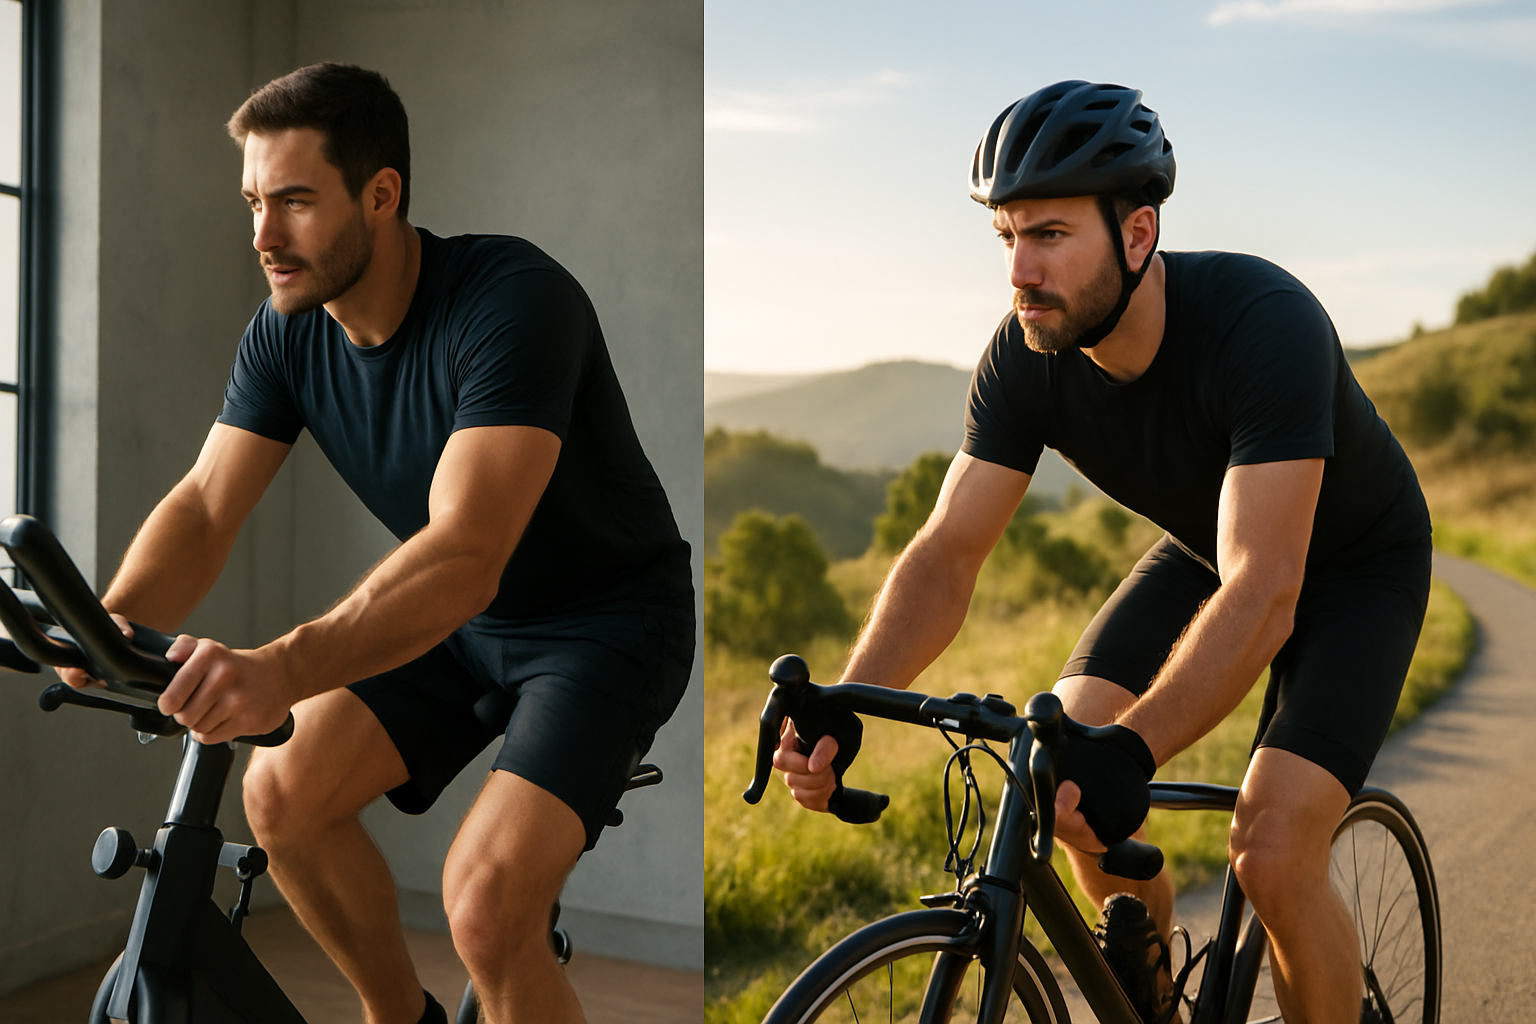

After years of programming cardio for people ranging from post-rehab beginners to competitive athletes, I get asked some version of this question almost every week: does indoor cycling provide the same benefits as outdoor cycling for cardio? The short answer is yes — but the long answer matters more, because how you structure your rides determines whether you’re actually improving your cardiovascular fitness or just logging time on a seat. I’ve reviewed the exercise physiology research, tested both modalities extensively with the people I train with, and tracked their VO2 max improvements over training cycles. This guide breaks down exactly what the science says, where each modality has a genuine advantage, and how to structure your training for maximum results regardless of which bike you’re on.
| Modality | Consistency & Control | Strength & Functional Gains | Mental Health |
|---|---|---|---|
| Outdoor Cycling | Weather and logistics limit control | Uphill riding builds leg strength; varied terrain engages stabilizer muscles | Fresh air, scenery, and sunlight reduce cortisol and boost mood |
| Indoor Cycling | Available any time; dial in exact resistance; track metrics precisely | Resistance can be programmed for power work; no terrain variability | No documented mental health advantage over outdoor |
Why Cycling Is One of the Best Cardio Workouts You Can Do
Cycling checks almost every box when it comes to cardiovascular training. It’s low-impact (meaning it’s easier on your joints than running), it’s scalable for all fitness levels, it torches serious calories, and it strengthens your heart and lungs over time. Studies published in the Journal of the American Heart Association have linked regular cycling to reduced risk of cardiovascular disease, improved VO2 max (that’s your body’s ability to use oxygen during intense exercise — a key marker of cardio fitness), and better metabolic health.
Whether you’re trying to lose weight, build endurance, or just get healthier, cycling delivers. A 155-pound person can burn roughly 500–600 calories per hour at a moderate pace outdoors, and a vigorous indoor cycling session can push even higher depending on resistance and intensity. The key is consistency and structure — and that’s exactly what we’re going to talk about.
Indoor vs Outdoor Cycling: Cycling Cardio Fitness Benefits Compared
The Case for Outdoor Cycling
Outdoor cycling is dynamic by nature. Your body constantly adapts to terrain changes, wind resistance, elevation, and real-world obstacles — and that variability is a genuine fitness advantage. Riding uphill builds leg strength alongside cardiovascular endurance. Navigating different surfaces engages stabilizer muscles you simply don’t activate on a stationary bike. There’s also a mental health bonus: fresh air, scenery, and sunlight have been shown to reduce cortisol (your stress hormone) and boost mood more effectively than indoor exercise.
The downside? Weather, traffic, and logistics. You can’t always control when or where you ride, which can make consistency difficult — and consistency is the #1 factor in long-term fitness progress.
The Case for Indoor Cycling
Indoor cycling wins on consistency, safety, and control. Rain or shine, 6 AM or midnight, you can get your workout in. You can dial in exact resistance levels, follow structured programs, and track your metrics precisely. For people targeting weight loss or building a base level of fitness, this kind of structured, repeatable training is incredibly effective.
Modern stationary bikes with app connectivity take this even further — you can follow live classes, ride virtual routes, and get real-time coaching without leaving your house. That’s a game-changer for busy schedules.
Bottom line: If you can do both, do both. Outdoor riding builds functional strength and mental resilience. Indoor training builds consistency and precision. Together, they create a well-rounded cyclist and a seriously fit cardiovascular system.
How to Structure Your Cycling Training for Maximum Fitness Gains
Here’s where most people go wrong: they hop on the bike and pedal at the same moderate pace every single time. That’s better than nothing, but it’s not going to keep producing results. Your body adapts quickly, and you need to challenge it in different ways to keep improving. Here’s a simple weekly structure that works for both indoor and outdoor riders:
- 1–2 days: HIIT sessions — High-Intensity Interval Training alternates between short bursts of maximum effort (30–60 seconds) and recovery periods. This spikes your heart rate, burns more fat, and improves VO2 max faster than steady riding.
- 1–2 days: Endurance/Zone 2 riding — This is longer, steady-state riding at a conversational pace (you could hold a conversation but it’s slightly challenging). Zone 2 training builds your aerobic base and teaches your body to burn fat more efficiently.
- 1 day: Strength-focused ride — Crank up the resistance (or find a hilly route) and focus on power output. This builds muscle and improves overall cycling performance.
- 1–2 days: Active recovery or rest — Don’t skip this. Recovery is when your body actually gets fitter.
Tracking your cadence (how fast your legs are spinning, measured in RPM — rotations per minute) is one of the best ways to optimize each of these workouts. Most coaches recommend 80–100 RPM for endurance work and higher cadences for intervals. If you’re not tracking it, you’re leaving gains on the table.
Gear I Recommend for Getting the Most from Cycling Cardio
You don’t need a $3,000 setup to get serious results. Here are the tools I’d actually point a friend toward:
Why I Switched to a Magnetic Resistance Bike When Training Partners Kept Complaining About Plateau Resistance
Indoor cycling only works if the resistance actually challenges you — and cheap flywheel bikes plateau fast, forcing you to grind mindlessly instead of building cardiovascular adaptation. I needed a bike that let me dial in precision resistance increments the way outdoor terrain naturally forces progression.
What works
- Magnetic resistance adjusts instantly without mechanical lag — I can program interval work with clean transitions instead of fumbling with a tension knob mid-sprint.
- Resistance curve feels linear across the full range, so a Level 6 actually feels proportionally harder than a Level 4, which tracks how outdoor power demands scale in real terrain.
- Quiet operation meant I could run timed intervals back-to-back without acoustic feedback masking my breathing rate — actually useful for monitoring intensity without a power meter.
What doesn’t
- The seat and pedals are generic — I replaced both within two weeks because training partners with any saddle sensitivity complained, and the pedal platform felt unstable at high cadence.
- Assembly instructions assume you know how to tension a drive belt; the first bike I set up had drift in resistance calibration until I tightened the belt properly, which the manual buried on page 3.
I almost sent it back after the first calibration wobble made me question whether I’d wasted money on another band-aid solution, but once I actually read the belt tension section and spent 10 minutes adjusting it, the resistance became rock solid. Check out the Merach Exercise Bike if you’re serious about programming progression on an indoor bike.
Frequently Asked Questions
How many calories does cycling burn per hour?
A 155-pound person burns roughly 500–600 calories per hour at a moderate pace outdoors, and vigorous indoor cycling can push even higher depending on resistance and intensity. Results depend on your effort level and the structure of your workout.
What cadence should I use for endurance cycling?
Most coaches recommend 80–100 RPM for endurance work. Tracking your cadence helps you optimize each workout and avoid leaving gains on the table during Zone 2 riding.
How should I structure my weekly cycling workouts?
Use 1–2 days of HIIT sessions, 1–2 days of endurance/Zone 2 riding, 1 day of strength-focused rides with high resistance, and 1–2 days of active recovery or rest. This approach works for both indoor and outdoor cycling.
Does outdoor cycling build more strength than indoor?
Outdoor cycling has genuine advantages: uphill riding builds leg strength, varied terrain engages stabilizer muscles, and environmental variability provides a fitness edge indoors can’t replicate. However, both modalities improve cardiovascular fitness when structured properly.
About This Article

Written by Jordan Ellis. Jordan Ellis isn't a certified personal trainer — just someone who's been genuinely obsessed with training for over eight years and turned it into building smarter home gyms. He focuses on home fitness: effective training spaces, equipment that earns its price, and programs that work in a spare room or basement, not just a commercial gym. More about this site.
Scope and limits. Jordan is not a certified personal trainer, and nothing here is medical advice. Check with a physician before starting a new program, and prioritize form over load on every lift described.
Verify this against a primary source
Specifics change, and your situation may differ from the one described here. These are the authorities worth checking directly:
- Physical Activity Guidelines for Americans (HHS) — the federal physical activity guidelines
- American College of Sports Medicine — exercise prescription and position stands
- NSCA — strength and conditioning research