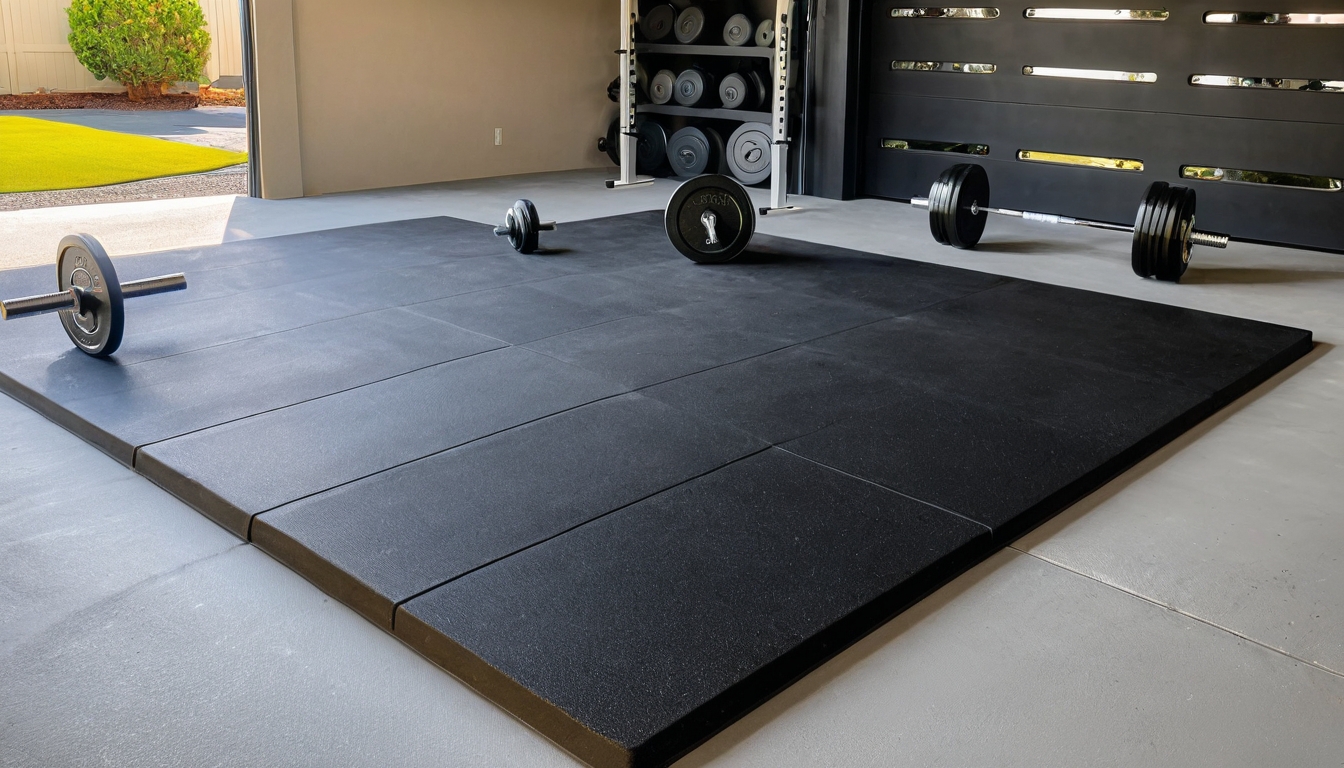
25 Essential Pieces of Equipment for Your Home Gym

Building Your Perfect Home Workout Space The first time I tried to train for a 5K, I went out too hard on day one, pulled something in my calf, and was off my feet for two weeks. Classic beginner mistake — and I made every one of them, including thinking I needed a full commercial … Read more